What an Outdoor Kitchen Actually Costs in Florida in 2026
The published ranges for outdoor kitchens are wide enough to be useless without tiers, because a grill dropped into a stucco box and a full perimeter kitchen with a covered structure are both called outdoor kitchens. In Florida the 2026 numbers sort into four honest tiers, and the difference between them is scope rather than quality.
- Entry-level grill island: Roughly $7,500 to $14,000. A single run of masonry, a built-in grill, some counter space and storage doors. No sink, no refrigeration, no gas line if it runs on a tank.
- Mid-range build: Roughly $20,000 to $30,000 for the kitchen itself, with stone counters, a side burner, a prep sink and mid-tier appliances. This is where most Central Florida projects land.
- Full Florida range: A fully functional professionally installed outdoor kitchen commonly runs $18,000 to $45,000 statewide once every trade is included.
- High end: Luxury perimeter kitchens with premium materials and a covered structure regularly pass $40,000 and can exceed $80,000 in South Florida.
Appliances are the line that moves fastest and the one homeowners underestimate. A quality built-in gas grill runs $1,500 to $5,000 for a mid-range model and $5,000 to $10,000 or more for a premium brand. Add an outdoor refrigerator at $800 to $2,500, a pizza oven at $500 to $3,000 and a sink at $300 to $800 before plumbing, and the appliance package alone reaches $5,000 to $15,000. That package is also the part you can stage over time, which matters for the budgeting strategy later in this article.
Why the Realistic Number Is $18,000 to $32,000 With the Patio Included
Here is the arithmetic that quotes usually separate. A mid-range kitchen at $20,000 to $30,000 sits on a surface. If that surface does not exist yet, or exists as a cracked concrete slab that has to come out, the patio is part of the project whether the kitchen contractor prices it or not.
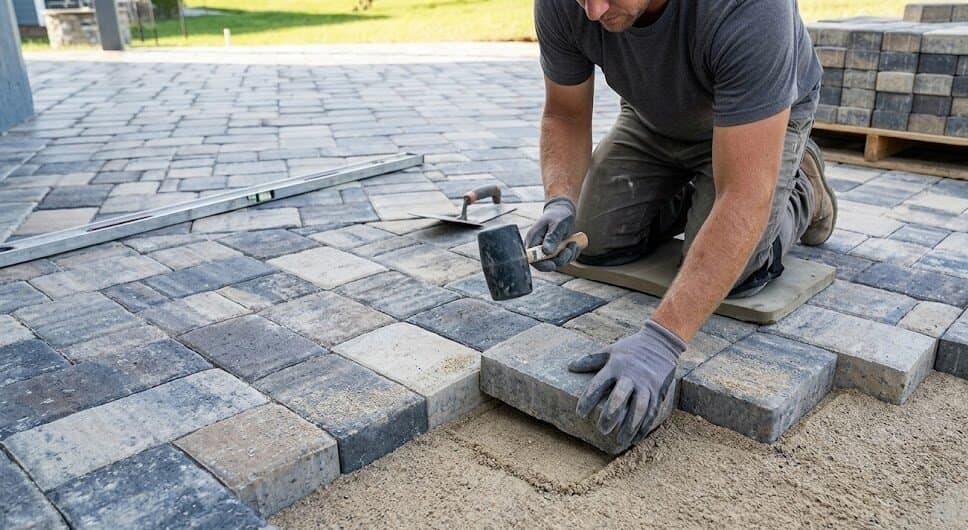
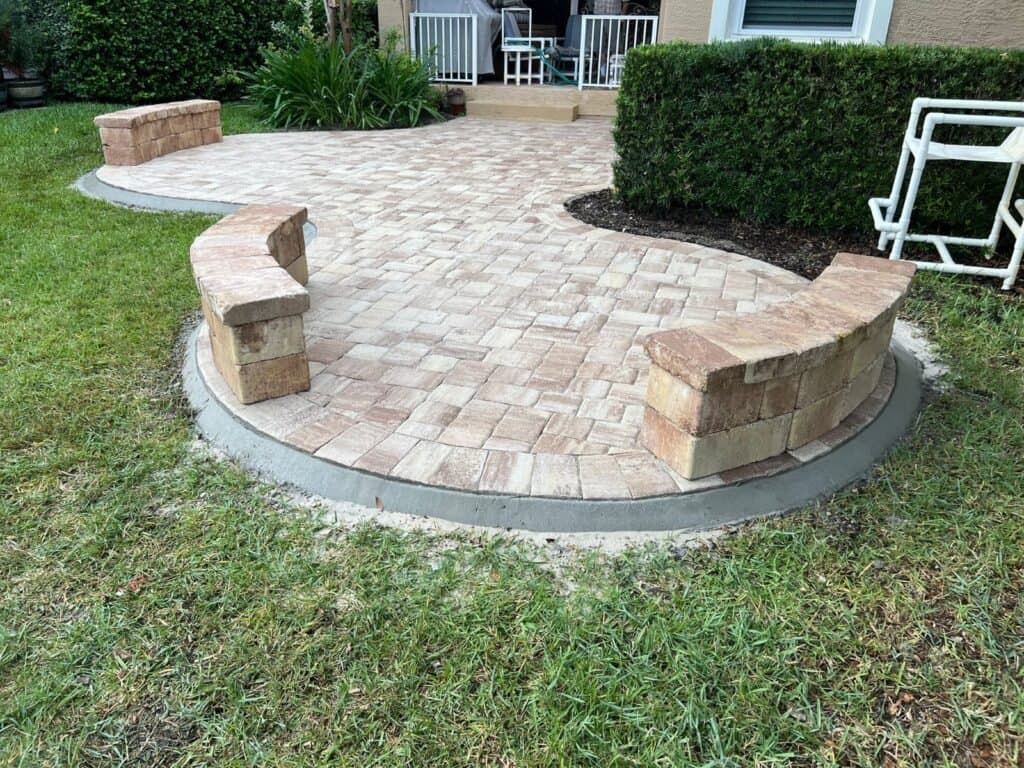
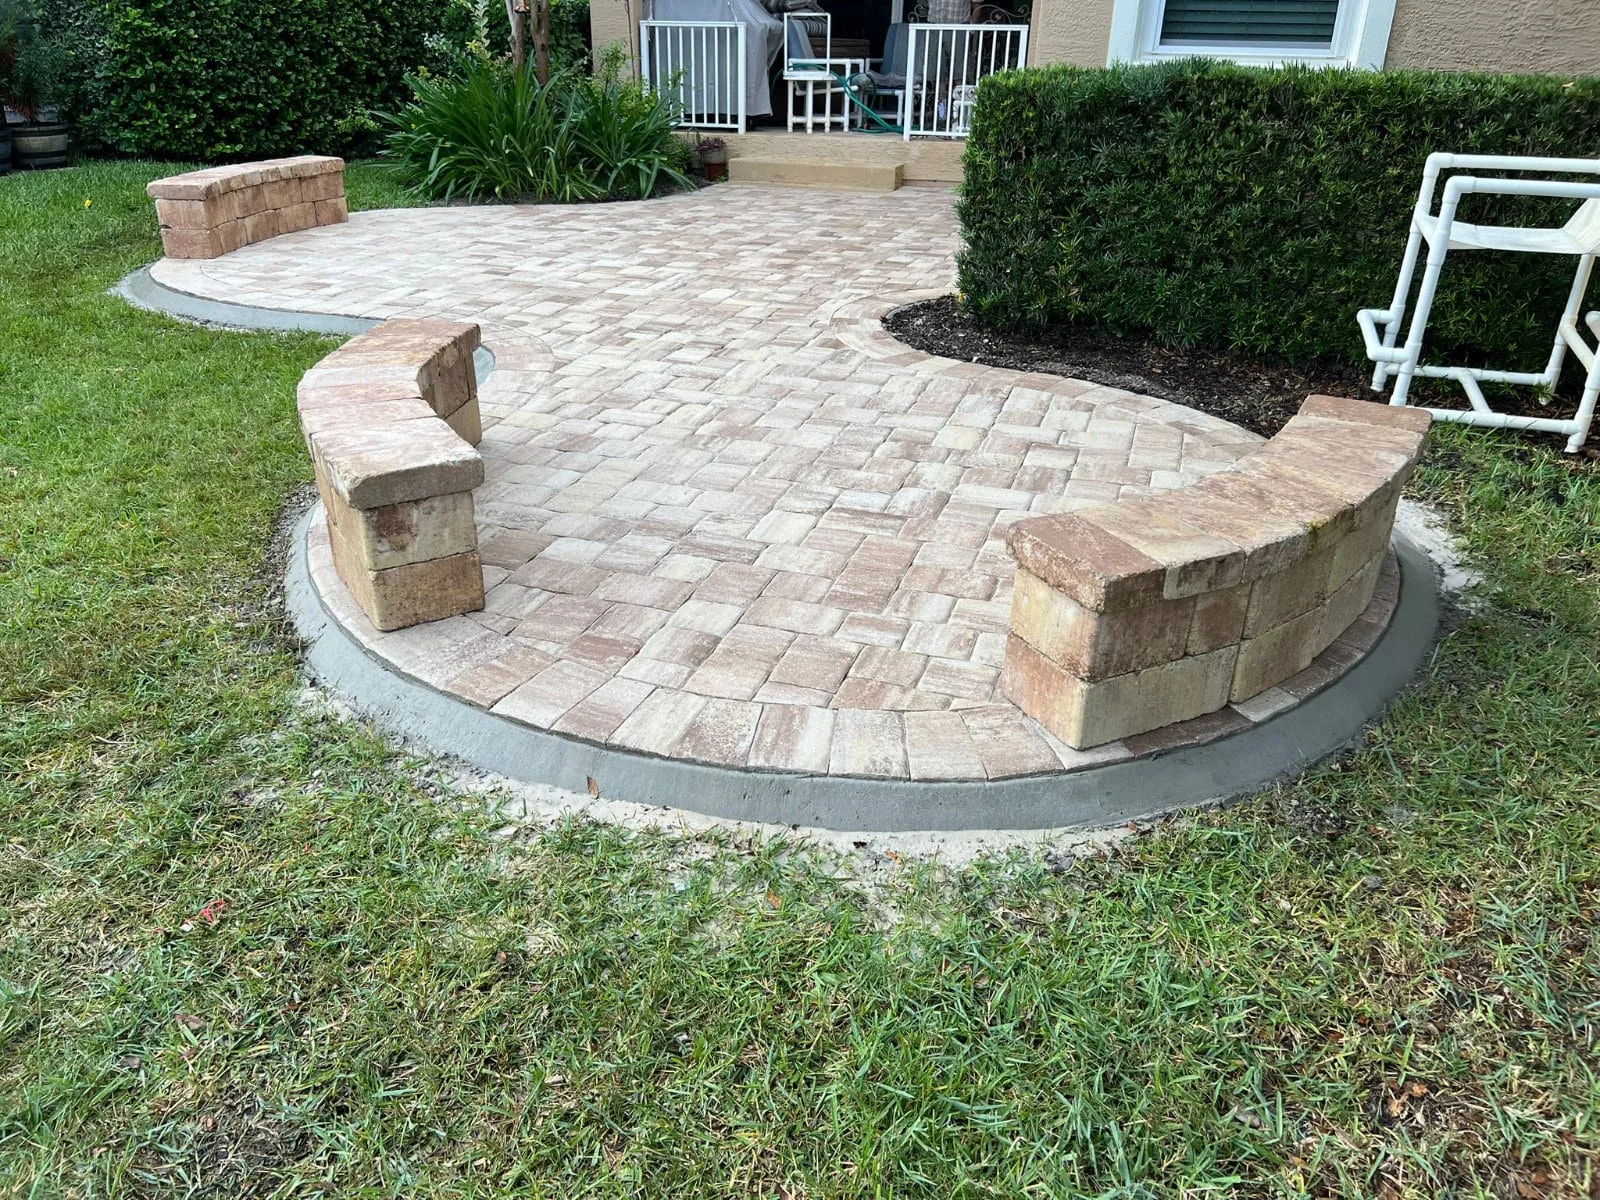
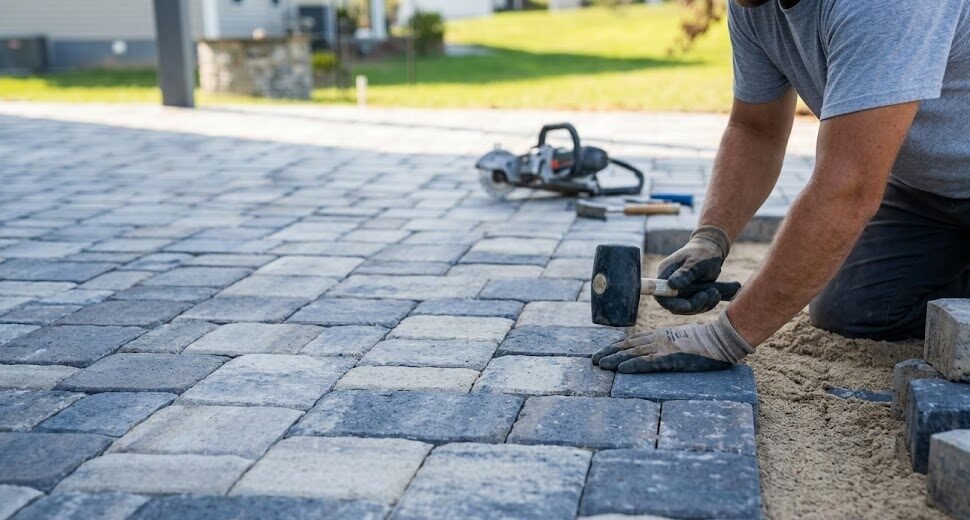
Paver installation in Florida runs roughly $10 to $25 per square foot professionally installed, with large simple concrete-paver areas at the low end and small intricate clay-brick or natural-stone work at the high end. Nationally, basic paver installation sits around $17 to $21 per square foot in 2026. A functional outdoor kitchen patio, meaning enough room for the island, a walk lane behind the cook and a table, is typically 350 to 500 square feet. At $14 to $18 per square foot that is roughly $4,900 to $9,000 of hardscape.
Put the two together honestly. An entry-level island on a new 400 square foot paver patio lands near $13,000 to $20,000. A mid-range kitchen on the same patio lands between $25,000 and $39,000. The band most Central Florida homeowners actually build in, once they trim the appliance list to what they will use and keep the layout simple, is $18,000 to $32,000 complete. That is the number worth budgeting against, and it is meaningfully different from the kitchen-only figure in most brochures.
One economy is worth knowing before you draw anything. Larger paver areas cost less per square foot, not more, because the crew mobilizes once and the base equipment shows up once. Adding the walkway or the extended dining area to the same job is almost always cheaper than starting a separate small project a year later. The five factors that move a paver quote are broken down in our Florida brick paver cost guide.
The Island Needs a Footing, Not a Paver Field
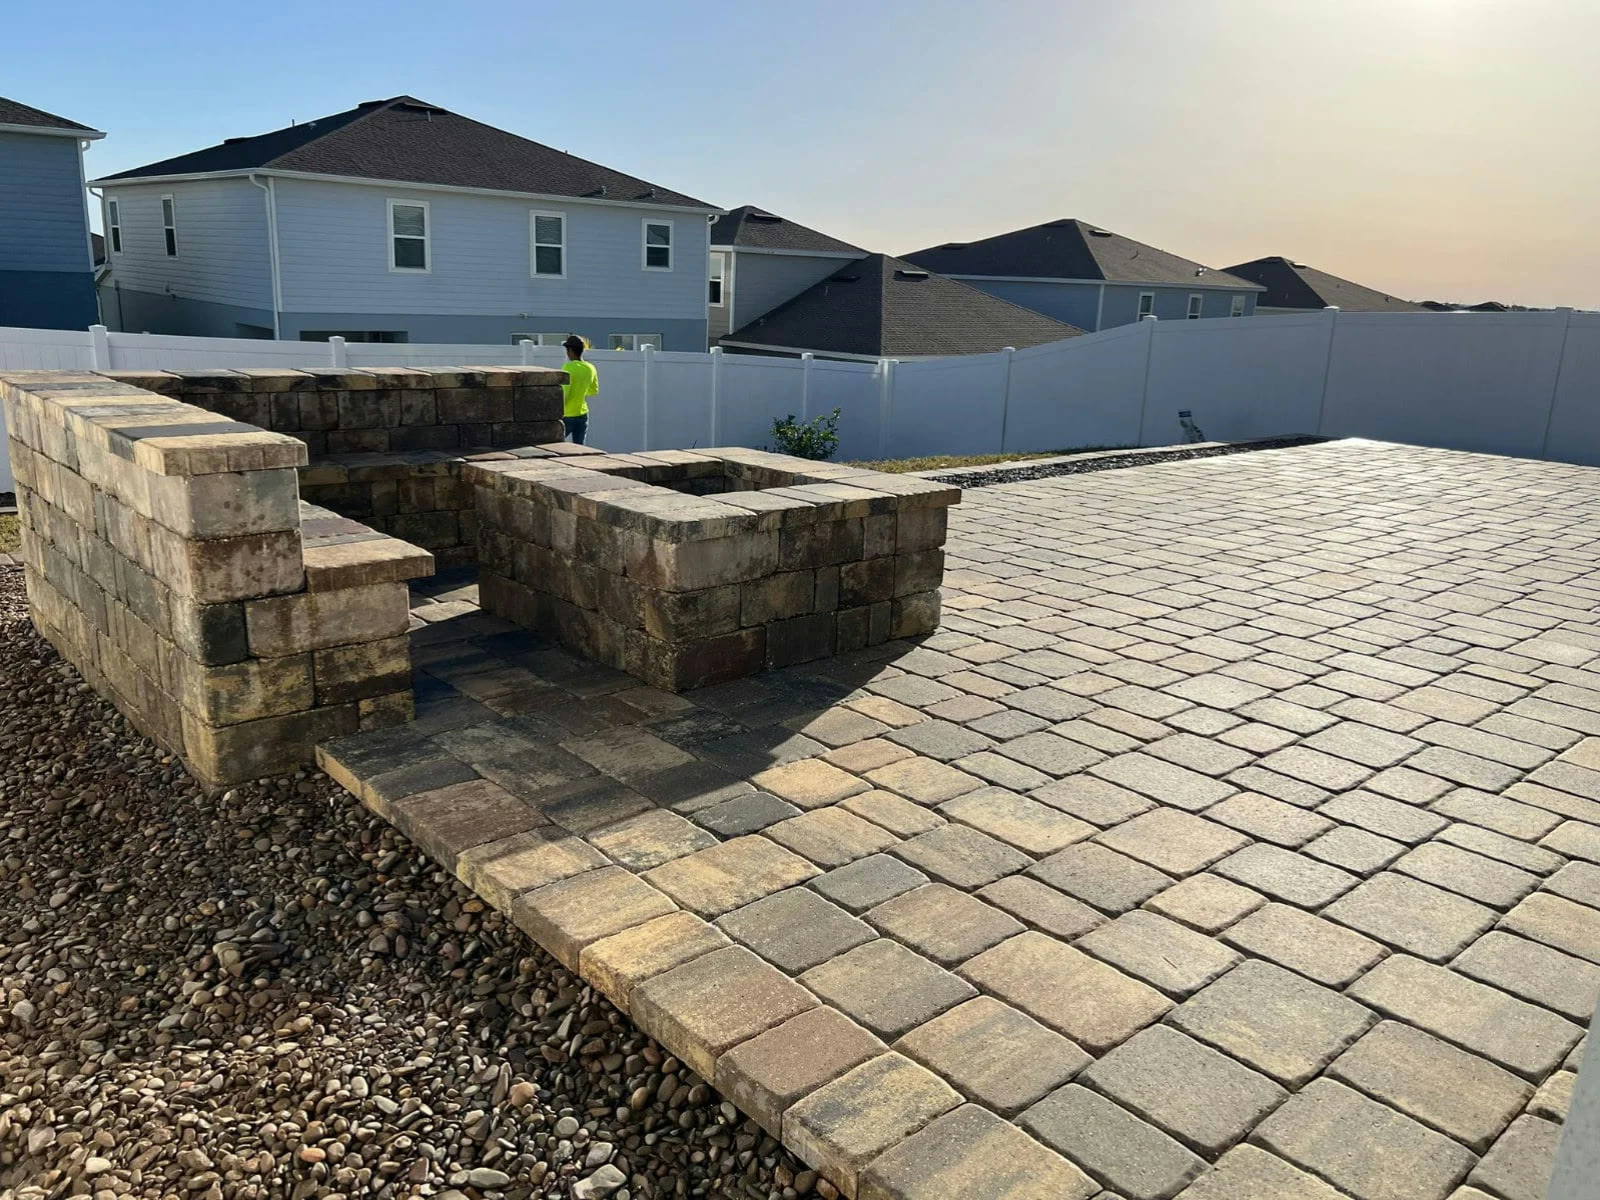
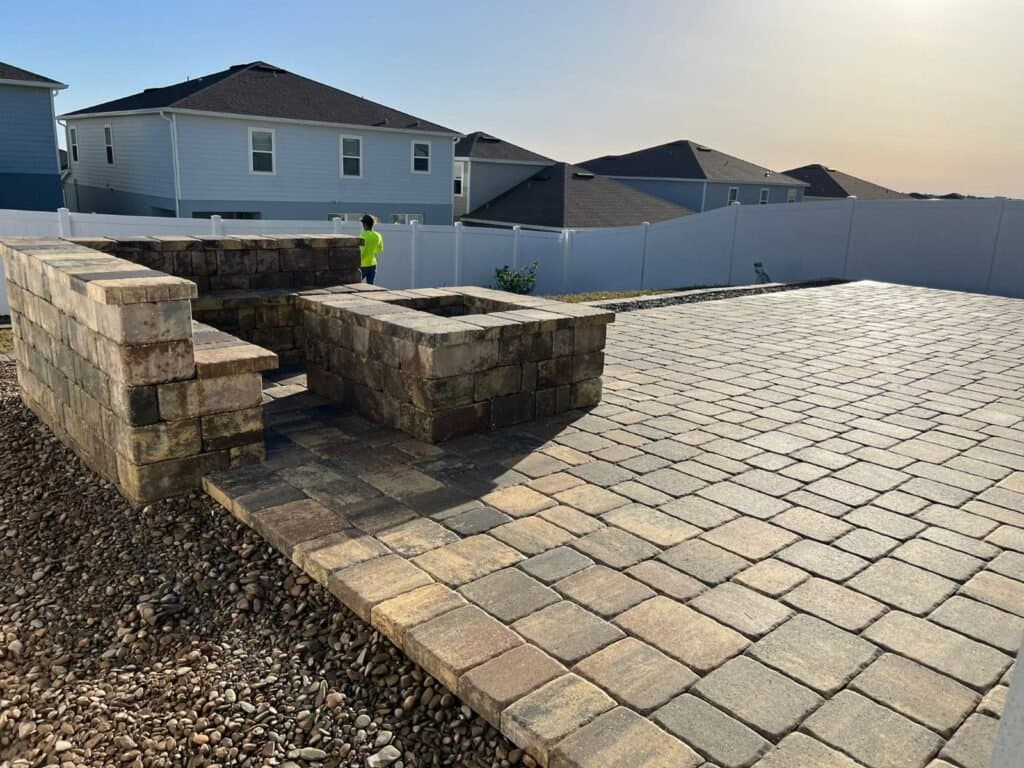
This is the single most important paragraph in this article. A masonry outdoor kitchen island weighs hundreds of pounds per linear foot before the countertop goes on, and it concentrates that weight on a narrow strip. Pavers are a flexible pavement system. They are engineered to distribute distributed load across a compacted base, and they handle patio furniture, foot traffic and vehicles beautifully. What they do not do is carry a concentrated masonry load on a narrow footprint without differential settlement.
The correct detail is straightforward and it has to be decided before the base goes in. Either the island sits on its own poured footing that is formed and cured before the surrounding pavers are laid, with the pavers cut cleanly around it, or the entire kitchen area gets a reinforced slab and the pavers are laid over it as a wearing surface. Both work. What does not work is setting a heavy island directly on sand-set pavers and hoping.
The failure mode is slow and unmistakable. In year one nothing happens. By year two or three the island has settled a fraction of an inch on the loaded side, the countertop is visibly out of level, the grill door no longer closes flush, and any joint between the island and the house or a wall has opened. Fixing it means removing the counter, dismantling the island and rebuilding the base. That is why the sequence matters more than the finish.
Ask any bidder one question: what is the island bearing on. A contractor who has built these correctly answers with a footing dimension or a slab spec immediately. A contractor who says the base is compacted so it will be fine is telling you they have not thought about it. The base itself deserves the same scrutiny, and our brick paver installation crews excavate, compact in lifts and only then set, which is what makes the difference between a patio that lasts 25 years and one that shifts in three.
Base Prep in Florida Sand: What Is Under the Patio
Florida soil is the reason cut-rate hardscape quotes exist. Sandy, high-water-table ground drains fast but offers little bearing capacity, and it is unforgiving of a thin base. Because everything below the surface is invisible once the pavers are down, it is the easiest place for a quote to be quietly cheaper.
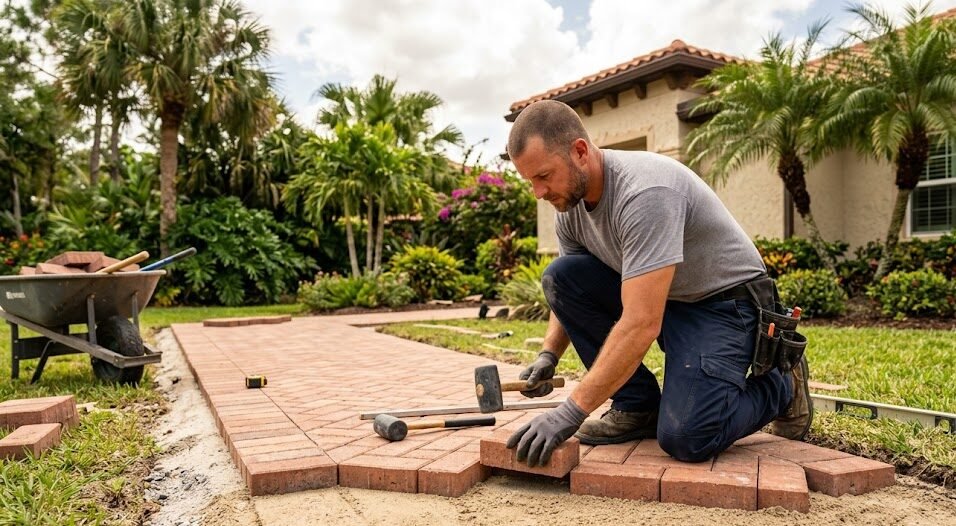
A correct installation excavates several inches of soil, lays and compacts a crushed-stone base in lifts rather than in one dump, adds a leveling layer of bedding sand and only then sets the pavers. Site conditions push the depth up or down: soft or organic soil needs deeper excavation and more base material, while firm sand with good drainage needs less. Under an outdoor kitchen, where you have both concentrated load and a permanent structure that cannot be re-leveled easily, the base spec should be at the deeper end of whatever your soil calls for.
Drainage deserves its own decision. An outdoor kitchen patio takes water from the roof line, from the grill area and from Florida afternoon storms, and it usually sits tight against the house. Slope away from the structure at a consistent fall, plan where the water goes rather than letting it find its own path, and keep the finished paver elevation below the slab or threshold line of the house.
Labor in Florida runs roughly $70 to $150 per hour for skilled hardscape crews, which works out to about $4 to $11 per square foot of the installed price. That is the honest reason a proper base costs what it costs, and it is why the cheapest quote in a stack of three is usually cheap in exactly this invisible place.
(321) 353-7445Get Immediate Service
The Gas Line: Permit, Fuel Choice and What It Adds
Gas is the trade that most often surprises an outdoor kitchen budget, and it is the one with the least room for improvisation. Both natural gas and propane systems require a permit in most Florida jurisdictions and must be installed by a licensed contractor. Permit fees for outdoor kitchen work range broadly, commonly $100 to $1,500 or more depending on the jurisdiction and the scope, and processing runs from a few days for a simple hookup to several weeks when plan review is triggered.
- Natural gas, house already served: The simplest path. A gas hookup permit and a licensed plumber running a line from the existing meter, often a single visit. No tank, no refill logistics, no tank screening question from the HOA.
- Propane with a buried tank: Usually requires a site plan showing tank placement, line routing and setbacks, sometimes supported by a current boundary survey confirming property lines. That is a real document requirement, not a formality, and it adds calendar time.
- Propane with a portable tank: Cheapest to start, most annoying to live with. It also drives the island cabinet design, because the tank has to live somewhere ventilated and reachable.
The detail worth planning around is the sleeve. Running a gas line, a water line and an electrical conduit under a finished paver patio after the fact means lifting and resetting pavers, and reset areas rarely match the original field perfectly on color and joint line. Sleeving all three during the base stage costs very little and removes the problem permanently. Do it even for services you are not installing yet.
Permits and HOA Approval: Two Separate Gates
The state sets a baseline and every city has the final say, which is why a plan approved in one Florida county can be rejected in the next. Local inspectors also interpret permanent versus temporary differently, and that single distinction decides whether your project is a patio with a grill or a permanent structure with setback obligations.
Before installing masonry countertops, built-in storage or any roof structure, you need approval that you are not violating setbacks, easements or HOA restrictions. Zoning dictates how far a structure has to sit from property lines, and an easement running along a rear lot line can eliminate the location you had in mind. Check the survey before the design, not after.
The HOA gate is separate and runs on its own calendar. Architectural review boards typically meet monthly, which means a submission that misses a meeting date costs a month regardless of how ready the crew is. Submit the site plan, the material selections and the elevation early and treat board approval as a scheduling dependency rather than a formality. The same pattern applies to fencing and screening around the space, which we cover in the Florida HOA fence rules guide.
Layout: The Five Decisions That Matter Most
Layout errors are free to fix on paper and expensive to fix once the base is compacted. These five decide how the space actually gets used.
- Work aisle depth: Leave at least 42 to 48 inches of clear walk space behind the cook. Anything less and every person crossing the patio pushes past someone standing at a hot grill.
- Landing space on both sides of the grill: A minimum of 18 to 24 inches of counter to the left and right. This is the most common omission in a compact island, and it is why plates end up balanced on the grill lid.
- Smoke direction: Orient the grill so prevailing wind carries smoke away from the seating area and away from the house openings. In Orlando and the rest of Central Florida that usually means facing the cook toward the yard rather than toward the wall.
- Distance from the pool: Splash, chlorine and bare feet do not mix with a hot appliance. Keep a buffer, and choose a paver texture around the cook zone that meets slip expectations. Our pool deck pavers guide covers the surfaces that stay cool and pass slip requirements.
- Shade before appliances: Florida sun makes an unshaded outdoor kitchen a winter amenity. A pergola or roof structure changes usage more than any appliance on the list, and it also has to be permitted, which is another reason to decide it during design.
Which Paver Belongs Under a Cooking Area
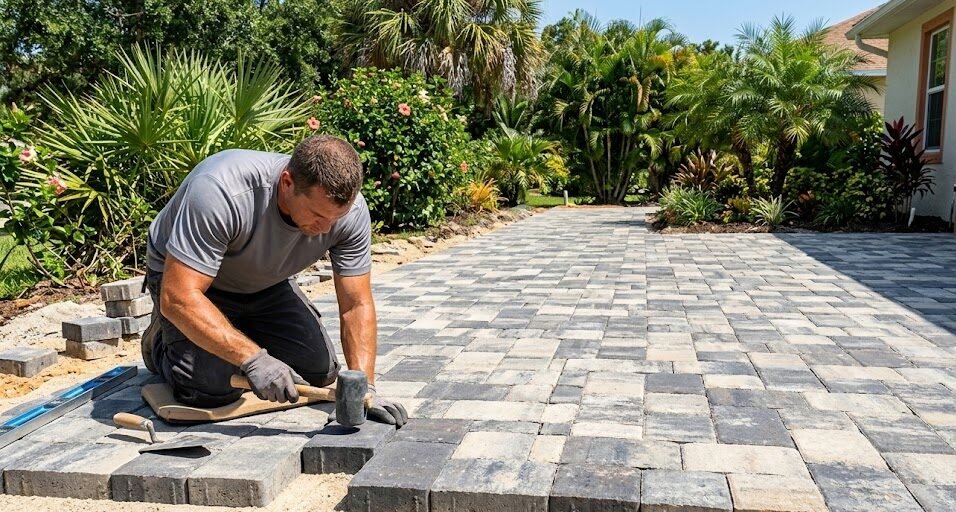
The cook zone is a different surface problem from the rest of the patio. It sees grease, dropped food, sauce, ice and traffic that is always wearing shoes. That narrows the honest options.
Concrete pavers are the volume answer at roughly $3 to $4 per square foot in material, with dozens of shapes and colors and easy sourcing when a unit needs replacing. That last point matters more here than anywhere else on the property: an individual paver ruined by grease can be lifted and swapped in minutes, which is impossible with a poured slab. Choose a mid-tone with texture rather than a light solid color, because light smooth surfaces show every drip.
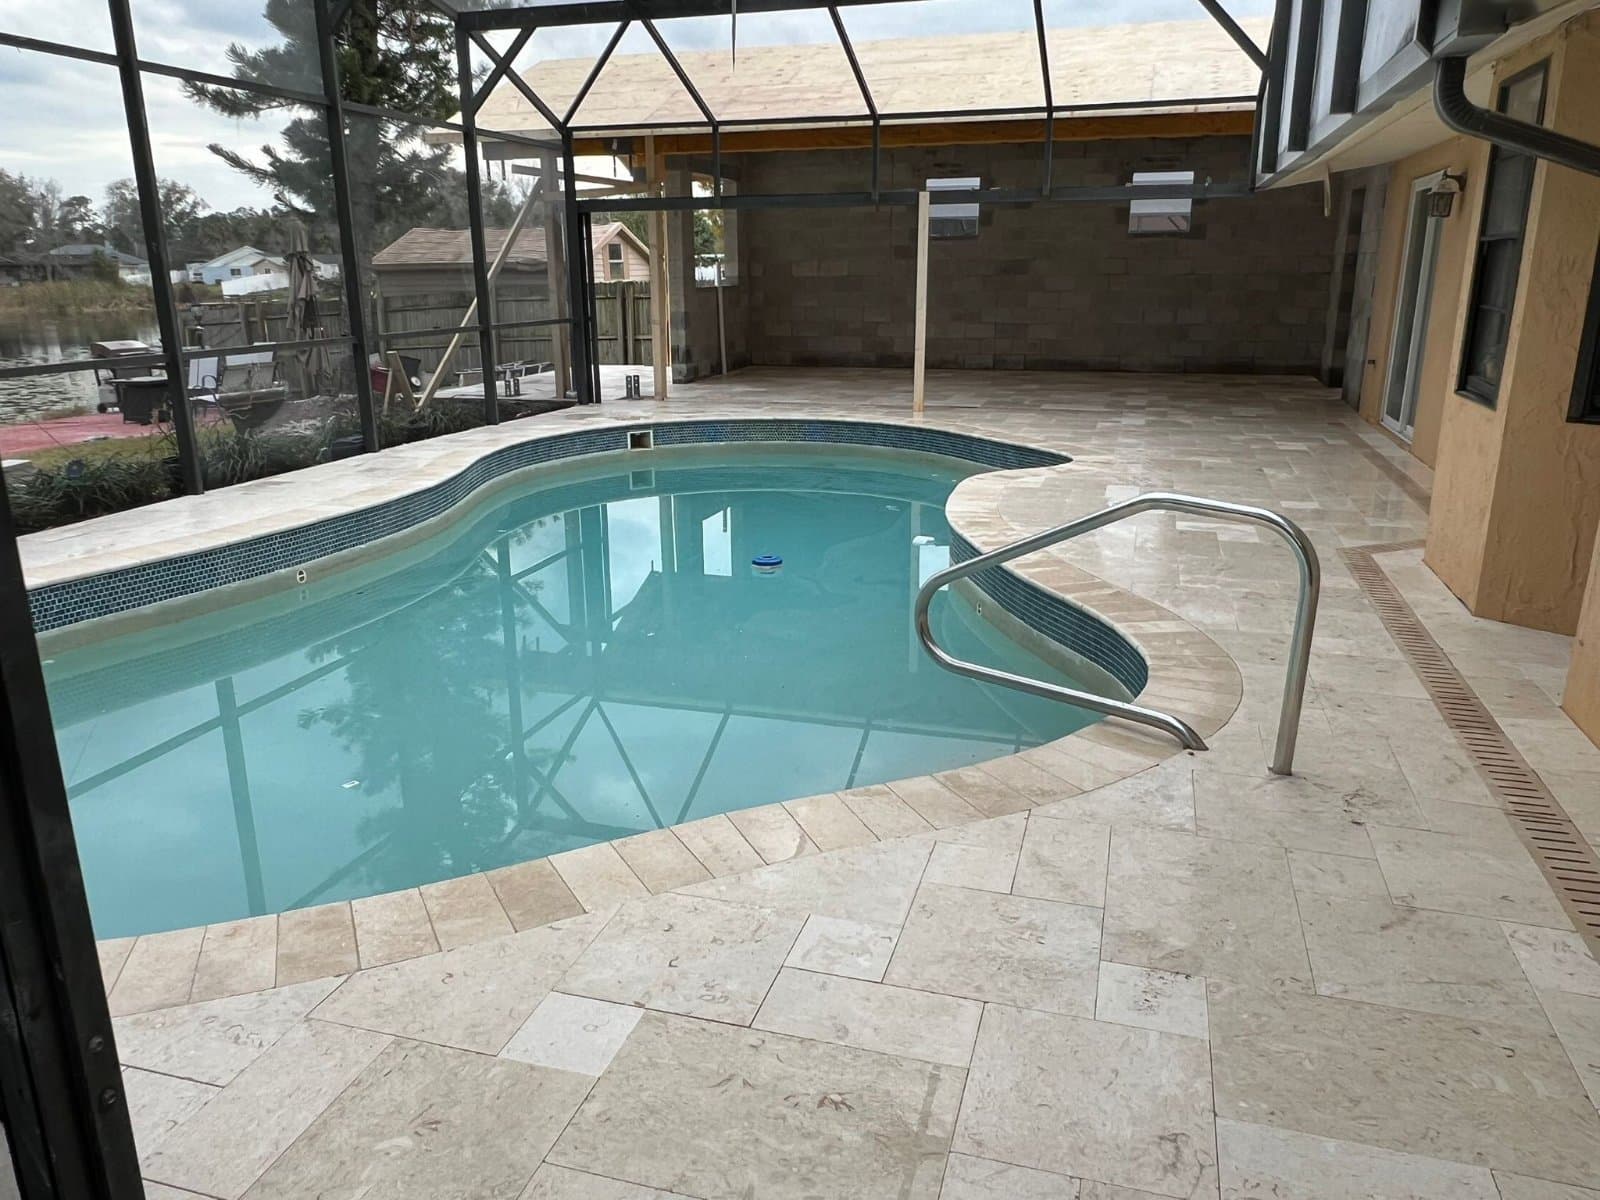
Clay brick and natural stone reach $15 per square foot in material before installation and can be the right call visually, but porous natural stone in a cook zone will hold stains. Travertine is beautiful and cool underfoot, and it belongs around a pool more comfortably than under a grill. The material comparison across Florida heat and use is in our travertine, brick and porcelain paver comparison.
Whatever you choose, the joint sand matters. Grease and frequent washing attack joints faster in a cook zone than anywhere else on a patio, and the wrong polymeric product in Florida humidity leaves a haze that is difficult to remove. That failure mode and the brands that avoid it are covered in our polymeric sand guide.
How to Stage the Project When the Full Budget Is Not There
Staging works well on this project type if it is staged in the right order, and badly if it is not. The rule is simple: anything under or inside the hardscape gets done now, anything that sits on top can wait.
- Phase one, always: Excavation, compacted base, drainage, the island footing or slab, and every sleeve for gas, water and electric. This is the phase you cannot revisit cheaply.
- Phase one, usually: The full paver field. Adding pavers later means a second mobilization and a visible seam between old and new material as color batches drift.
- Phase two: The masonry island and countertop, once the footing has cured and the layout has been lived with for a season.
- Phase three: Appliances, in order of what you will actually use. Grill first, refrigeration second, everything else after. This is the $5,000 to $15,000 band and the easiest to spread out.
- Phase four: Shade structure, lighting and finish details, permitted separately when the time comes.
The order above is not the order most quotes propose, because appliances are the exciting part. It is the order that protects the money you already spent, and it is what KS Solutions recommends to homeowners who want the finished space to be right rather than fast.
Maintenance: What a Cook Zone Needs That a Patio Does Not
An outdoor kitchen patio ages faster than the rest of the hardscape and it is worth knowing where. Grease is the main enemy. Treat spills quickly rather than seasonally, because oil that sits works into the paver surface and into the joint sand, and a stain that could have been lifted in a week becomes permanent in a month.
Sealing is more valuable in a cook zone than elsewhere for exactly that reason, and it is also the area that needs the most frequent refresh because of the traffic and the cleaning. The Florida schedule and the reasons UV forces it are covered in our Florida paver sealing guide.
Rinse rather than pressure blast. High pressure strips joint sand quickly, and once the joints are open in a heavily used zone the pavers begin to move against each other. A garden hose, a degreaser rated for masonry and a stiff brush handle the routine. Save pressure washing for an annual pass at a low setting with a fan tip.
Check the joints once a year in the cook zone specifically, and top up sand where it has dropped. It is a fifteen minute task that prevents the slow spread that eventually needs a re-level.
Getting a Quote That Is Actually Comparable
Three outdoor kitchen quotes are usually three different projects, which is why they land thousands apart. Force them onto the same scope with five questions, and the comparison becomes real.
- What is the island bearing on: A poured footing, a reinforced slab, or the paver field. If the answer is the third one, remove the quote from consideration.
- What is the base spec: Excavation depth, base material and whether it is compacted in lifts. Vague answers here explain the price gap.
- Which sleeves are included: Gas, water and electric conduit under the patio, including for services being deferred.
- Who pulls the permits: Gas work requires a licensed contractor and a permit in most jurisdictions. Confirm it is in scope and not left to the homeowner.
- What is the drainage plan: The direction of fall and where the water goes, stated specifically rather than described as sloped away from the house.
KS Solutions builds paver patios, driveways, pool decks, fencing and turf across Central Florida, including Orlando, Lakeland and Winter Haven. If the outdoor kitchen is going next to a pool, the deck surface decision comes first, and our pool deck paver installation page covers how the two projects get sequenced together.