Why the Calendar Is the Whole Argument
The National Weather Service does not assign Central Florida a fixed rainy season start date, but the historical average for Orlando is around May 24, and it has started as early as May 5 and as late as early July. Once it starts, the volume is not subtle. Orlando averages about 51 inches of rain a year, and roughly 61 percent of that total falls between June and October.
Now line that up against what patio work actually requires. Polymeric sand generally needs no rain in the forecast for 24 hours after installation on a non-drainage base. Paver sealer wants 50 to 90 degrees, works best around 75, and takes 48 to 72 hours for a full cure. Both of those requirements are easy to meet in March. Both of them are a coin flip in July, when a storm can arrive at four in the afternoon on a morning that looked perfect.
That is the entire case for doing this in spring rather than fixing things in summer. The work is the same work. The odds are completely different.
Task 1: Walk the Patio and Write Down What You Find
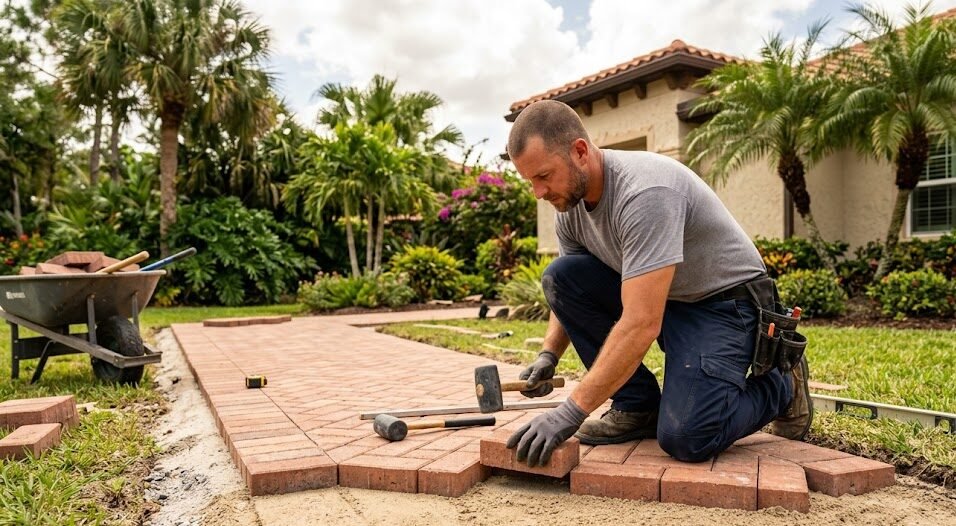
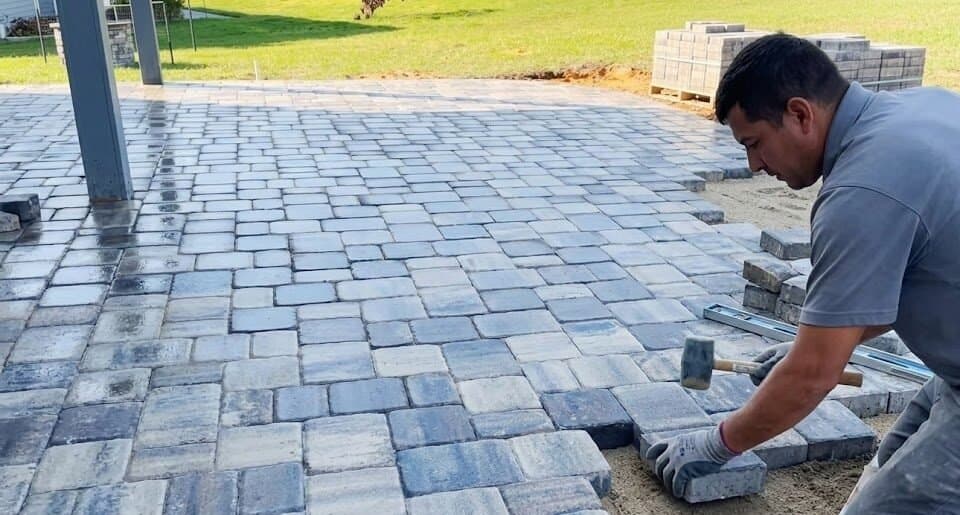
Before anything gets cleaned or bought, do one slow lap with a notepad. The point is to separate the three categories of problem, because they have different fixes and different urgency.
- Joint loss: gaps between pavers where the sand has dropped below the paver chamfer. This is the most common finding and the one that causes the most downstream damage, because open joints let water move base material.
- Movement: pavers that rock under foot, low spots that hold water after a rain, or a run of pavers that has drifted sideways. Movement means the base or the edge restraint is involved, and no amount of sand fixes it.
- Surface: algae in the shaded areas, rust from a sprinkler head or a fertilizer spreader, oil at the driveway apron, efflorescence hazing the color. Cosmetic, but it dictates which cleaning products you need.
Take photos. In eight weeks, when the patio looks better, the photos are what tell you whether a low spot actually got corrected or just got cleaner.
Task 2: Fix Movement Before You Fix Anything Else
This is the task people skip, and skipping it wastes every task after it. Sanding and sealing a patio that has a settled section means doing all that work again after the section gets lifted and reset.
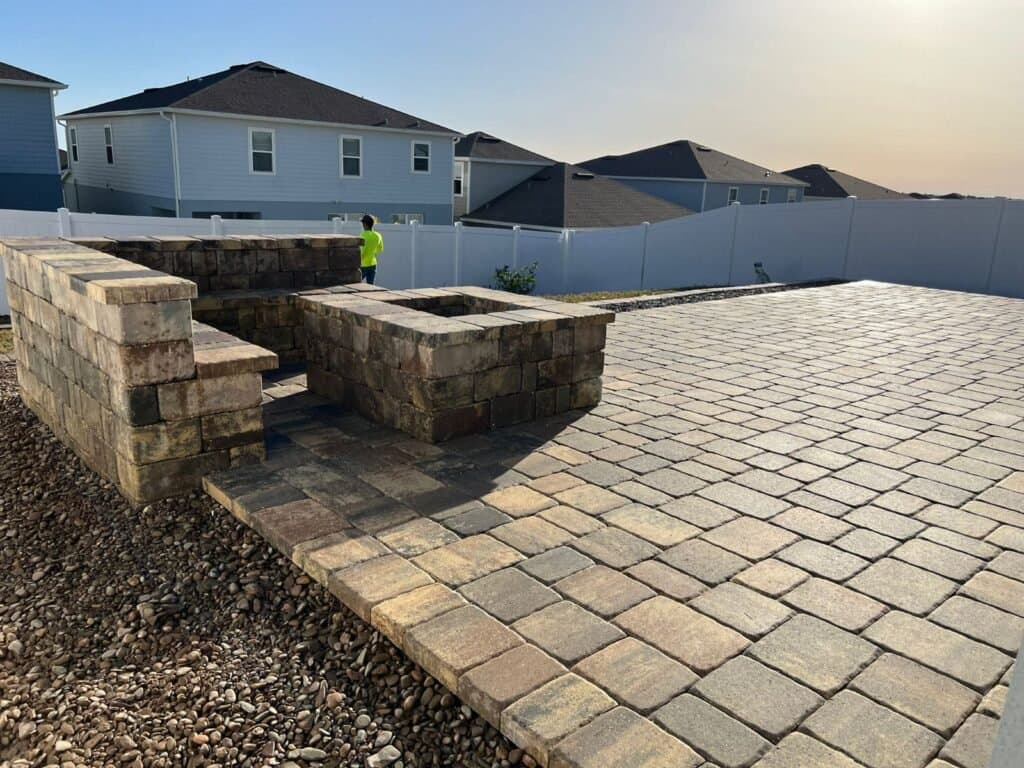
Check the perimeter first. Edge restraint is the plastic or concrete edging along the outside of the field, spiked into the base, and it is what keeps the outermost row from creeping outward. When it fails, the whole field slowly loosens from the outside in, and the symptom shows up as widening joints along the border months before anything visibly moves.
Isolated settling, meaning a small area that holds water or rocks underfoot, is a lift-and-relevel job: pull the pavers, correct the bedding layer, compact and reset. Widespread settling across a large area is a base problem, and that is a different conversation with a different budget. The full breakdown of which is which is in brick paver repair in Florida, and larger resets fall under brick paver installation.
Task 3: Clean, in the Right Direction and at the Right Distance
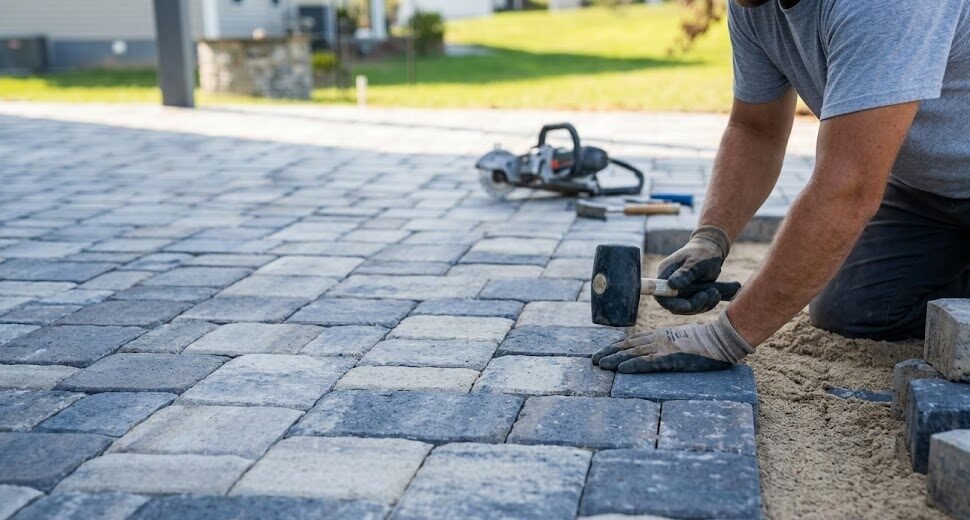
Cleaning comes after the reset and before the sand, and the sequence is not negotiable, because pressure washing removes joint sand whether or not you intended it to.
- Use a fan tip, never a zero-degree tip. A pinpoint tip cuts the face off a concrete paver and the damage is permanent. A 25 or 40 degree fan cleans without etching.
- Keep distance and keep moving. Standing still is what leaves wand marks, and those show up most clearly after the surface dries, which is after you have stopped.
- Treat organic growth chemically first. Algae and mildew in the shaded areas come off far more easily after a cleaner has had time to work than they do under raw pressure.
- Expect to lose joint sand. This is fine and expected. It is also exactly why cleaning has to happen before re-sanding rather than after.
- Let it dry completely. Pavers hold water in the body of the unit, not just on the surface. Sand going into a damp joint activates early, and sealer going onto a damp paver hazes.
(321) 353-7445Get Immediate Service
Task 4: Refill the Joints Before the Rain Can Move the Base
Joint sand is not cosmetic. It is what transfers load between adjacent pavers and what keeps water from running straight down into the bedding layer. When joints run empty through a Florida wet season, the water that should sheet across the surface goes into the base instead, and that is how flat patios become uneven ones.
Refill to the bottom of the chamfer, sweep the excess off completely, and follow the activation instructions on the bag exactly. Two rules matter more than the rest.
- Temperature: most polymeric sand requires 32 degrees or above, and some products specify above 50 degrees for several days and nights after application. In a Central Florida spring both are easy. Check the bag rather than assuming.
- The 24-hour dry window: on a non-drainage base, plan for no rain in the forecast for 24 hours after installation so the product can cure. This single requirement is why April beats July, and it is why re-sanding is the task most likely to fail if it gets pushed into the wet season.
Over-watering during activation is the other common failure, and it washes the polymer binder out of the joint and leaves a haze on the paver face. The detail on product selection and activation is in polymeric sand in Florida.
Task 5: Seal Only If the Window Is Genuinely Open
Sealing is optional. Sealing badly is worse than not sealing at all, because a sealer applied outside its conditions can trap moisture, haze the surface or cure blotchy, and removing a failed sealer is significantly more work than applying it was.
The conditions are specific and worth respecting.
- Temperature between 50 and 90 degrees, with roughly 75 as the sweet spot. Below 50 many sealers cure slowly or improperly. Above 90 the risk of staining and surface defects climbs.
- Full cure takes 48 to 72 hours for most sealers, and warm conditions between 65 and 85 degrees shorten both dry and cure times. That is a multi-day dry forecast, not a dry morning.
- Joints must be sanded and cured first. Sealing over empty joints locks in a problem instead of protecting against one.
- The patio has to be dry through the body of the paver, which after a pressure wash means giving it more time than it looks like it needs.
A March or April afternoon in Central Florida sits inside that window almost by default. A July afternoon frequently exceeds the top of it before the storm arrives to end the argument. Product choice, coverage rates and how often to re-seal are covered in sealing pavers in Florida.
Task 6: Inspect the Fence While the Ground Is Still Firm
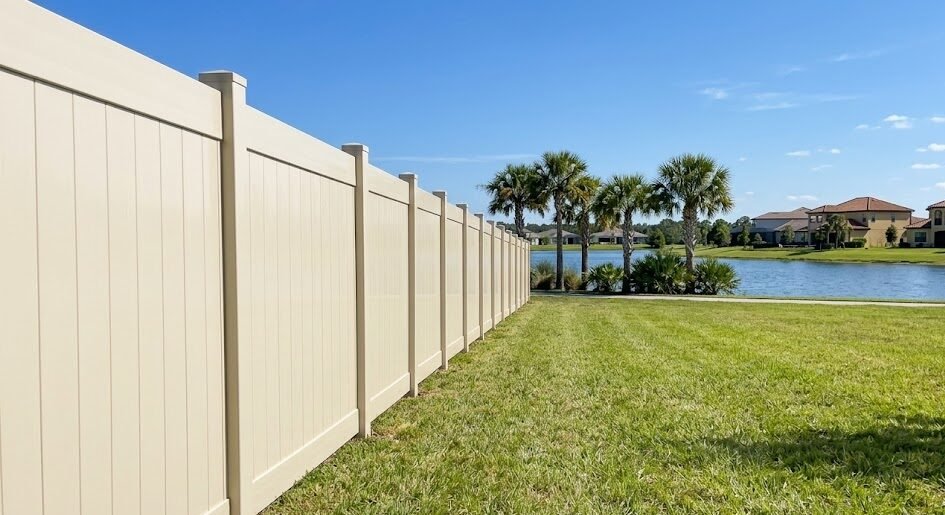
Fence inspection belongs in this checklist for a reason that has nothing to do with appearance. Post repairs need dry, workable soil and concrete that can cure without being flooded, and both of those get harder every week after the rainy season starts.
- Push test every post. Grab the post, not the panel, and push. Any movement at the ground line means the concrete collar or the post itself has a problem, and one loose post transfers load to its neighbors during the first serious wind event.
- Look at the base of wood posts. Ground-line rot is where wood fences fail in Florida, and the visible portion above can look perfectly sound while the buried section is gone.
- Work the gates. Gates carry all the moving parts, so they show wear first. Sagging hinges, latches that no longer align and hardware that has started to corrode are all cheaper to fix in March than after a storm has worked them for a season.
- Check vinyl panel engagement. Vinyl expands and contracts with temperature, and panels that have walked out of the rail pocket over the winter need to be reseated before wind gets into the gap.
- Trim vegetation off the fence line. Vines and shrubs hold moisture against the material and add wind load exactly where you do not want it. Handled in spring, this is pruning. Handled in August, it is repair.
Anything structural is a fence installation conversation rather than a maintenance one, and the honest test is whether the post moves. Posts that move do not get fixed with hardware.
Task 7: Reset the Turf Before It Carries a Wet Season
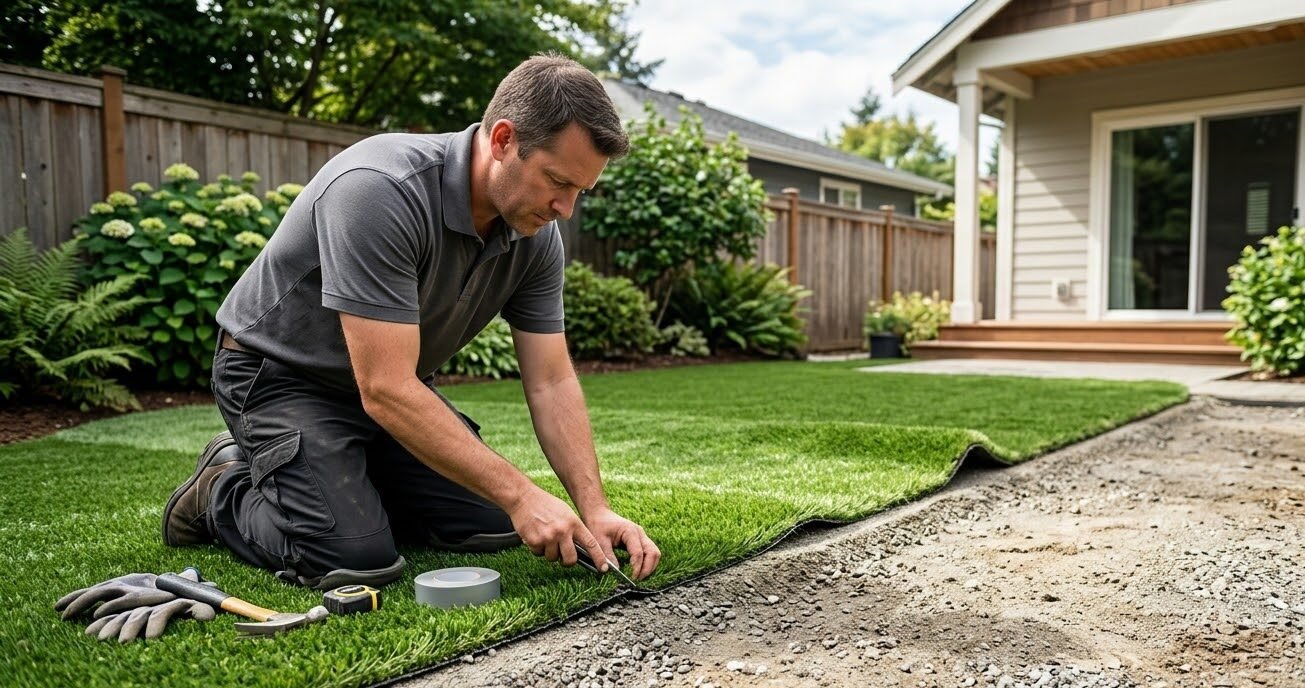
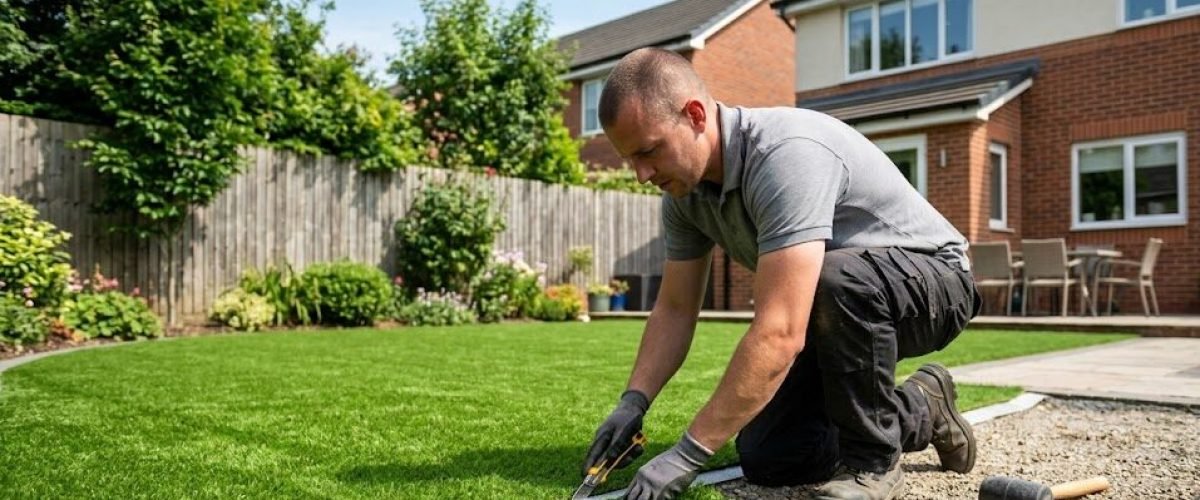
Artificial turf is low maintenance, not no maintenance, and the pre-season reset is short.
- Cross-brush against the grain. Traffic lays fibers down and matted fibers hold debris and heat. Brushing against the natural direction stands them back up and redistributes infill at the same time.
- Top off infill in the traffic lanes. Infill is what keeps the blades upright and protects the backing from ultraviolet exposure. It migrates over time, and the paths people actually walk are where it thins first.
- Flush the surface and confirm drainage. A deep rinse before the wet season clears accumulated dust and organic material out of the perforations. If water pools anywhere, find out now rather than in the middle of a June downpour.
- Clear the perimeter and the seams. Check that edges are still anchored and that leaf litter has not built up along the border where it holds moisture against the backing.
Details on infill types and drainage rates for this climate are in artificial turf installation.
The Order Matters More Than the Effort
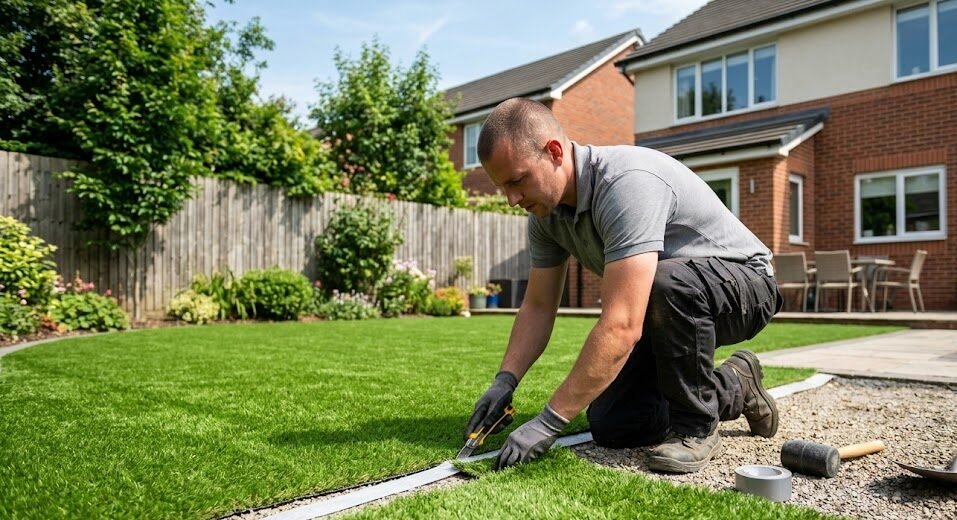
Every task above is easy in isolation. What ruins spring patio projects is sequence, and the failure is almost always the same one: somebody seals a patio that still has empty joints, or re-sands a patio that has a settled section waiting to be lifted, and the work gets redone.
Correct order, one more time. Inspect and document. Fix movement and edge restraint. Clean and let it dry completely. Refill joints and let them cure through a 24-hour dry window. Seal, if the multi-day forecast supports it. Fence and turf can happen in parallel with any of it, because neither depends on the paver work.
What This Actually Buys You
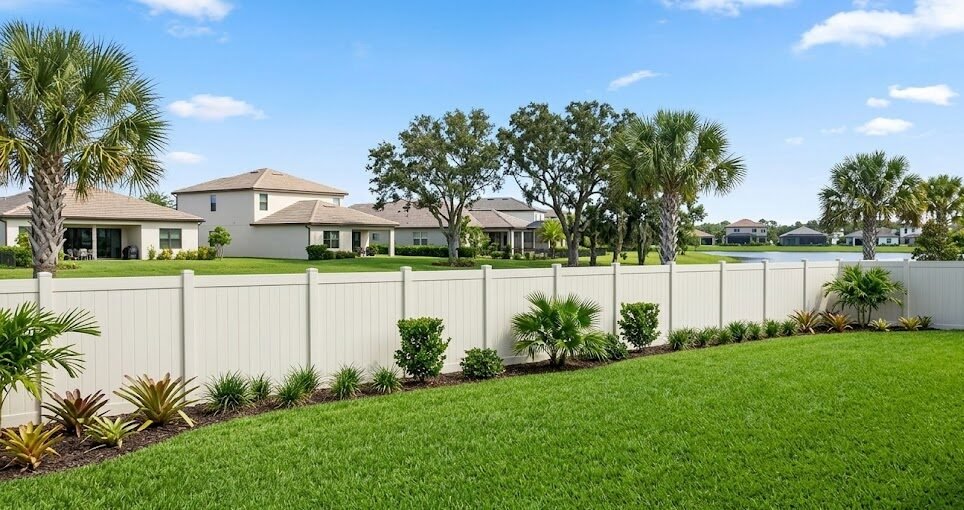
The return on a spring reset is not that the patio looks better in April, although it will. It is that the patio enters the wet season with closed joints, a sound edge, no standing water and a fence whose posts are all doing their share. Those are the four conditions that decide whether five months of daily afternoon rain is a non-event or the reason a section needs to be rebuilt next year.
KS Solutions installs and services pavers, fence and turf across Central Florida, including Orlando and Lakeland, and handles recurring seasonal work through maintenance plans. Homeowners scoping a larger reset in town can start at brick paver installation in Orlando.